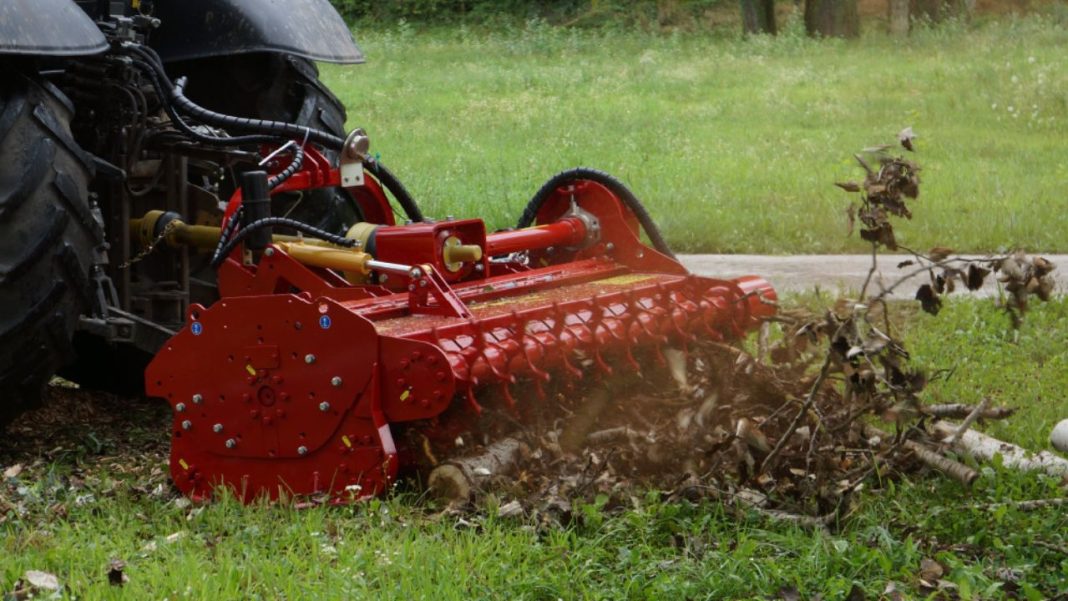
Seppi mulcher teeth are famous for their durability and cutting performance, but performance can be improved by proper installation. Proper placement of seppi mulcher teeth gives the best performance in different land clearance and forestry operations. The following are some of the important steps that are considered in this guide when it comes to installation.
Check the Equipment before Fixing
First of all, it is necessary to check the state of the mulcher head and the mounting equipment. It will check for the presence of any damages or other issues. Make sure that the holes through which the mounting screws are to be inserted are clean and are aligned correctly. Overlooking this aspect may result in poor alignment, which may minimize cutting performance and at the same time hasten the wearing out of the teeth and the mulcher as a whole.
Select the Appropriate Equipment
It is essential to use the right tools when installing Seppi mulcher teeth because improper installation will lead to poor performance of the machine. A torque wrench is advised to be used to tighten the teeth to the manufacturer-recommended torque. Furthermore, selecting high-quality bolts and nuts that meet the requirements stated by Seppi will also minimize the likelihood of coming loose during the operation.
Follows the Manufacturer’s Specifications
Seppi gives clear instructions on how to install their mulcher teeth the required torque settings and the right tightening sequence. It is important to adhere to these guidelines to get the best outcomes. It is necessary to put the tooth into the mounting hole and make sure it is positioned properly. After tightening the bolts, ensure that you do it diagonally to ensure that equal pressure is applied to the mulcher head. It will avoid misalignment and consequent damage to the teeth or the mulcher head.
Verify Proper Alignment
After the teeth are placed, ensure that all the teeth are well aligned. Problems such as misaligned teeth lead to uneven cutting, excessive vibrations, and wear of the teeth. If any of the teeth are in the wrong alignment, align them before fully tightening the bolts. This is important as all the teeth cut on the material at once and not just a few, and this leads to proper and long-lasting teeth.
Perform a Test Run
Once the installation and alignment are done, follow it up with a short demonstration of the mulcher. Pay attention to the sound and how the cutting is being done. If the mulcher runs smoothly and the teeth are sharp and cut uniformly, then the installation process has most probably been successful. If there is any problem like vibration or poor cutting action, then the alignment and the torque of the teeth have to be checked again.
Check for Abnormalities on a Routine Basis
For the best performance, ensure you check on the Seppi mulcher teeth for signs of wear or damage and then repair or replace them as needed. Any problems should be solved as soon as possible to avoid further deterioration and to maintain optimal productivity. Some of these include sharpening or replacing the teeth that wear out with time to ensure that they serve the mulcher for a longer period hence reducing the costs of operating the equipment.
Conclusion
It is important to install the Seppi mulcher teeth correctly if one wants to achieve the best cutting operation and also to have long-lasting equipment. According to the manufacturer’s instructions, proper alignment, and timely maintenance, operators can achieve the optimum result and service life of the mulcher teeth. If these measures are paid adequate attention during installation and the process of the land-clearing or any forestry project, the results are bound to be excellent.


